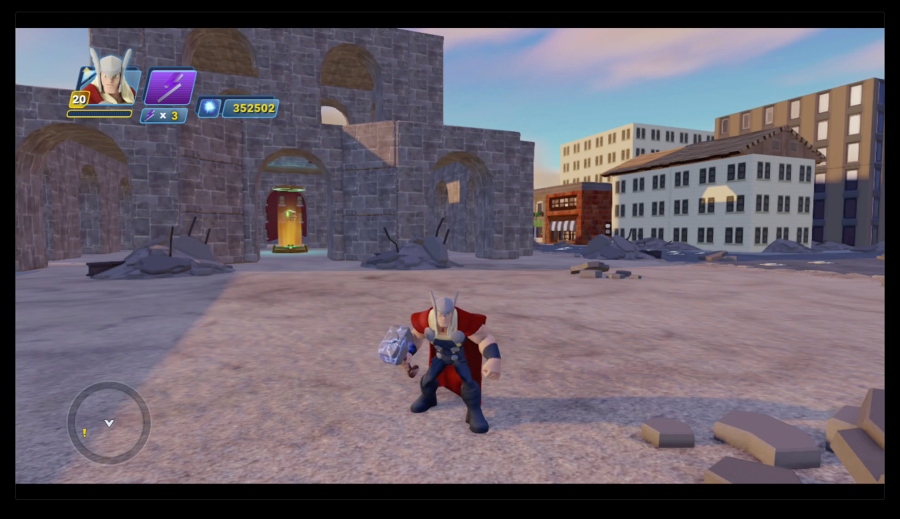
Today I’ll show you how to implement the logic for the battle at the old church. I’ll also cover a logic connection that I forgot last time, as well as a stylistic change that I made to the SHIELD helicarrier that I think you might like (I know I do).
Here are the logic diagrams to help you connect the Creativi-toys that I used in this episode. Again, I could not fit everything onto a single diagram, so I have color-coded the objects to help you match up the objects on the diagrams. The green objects are toys that I have reused from the previous episode. They are the same objects from those diagrams, as you will also see in the video. The other objects are all unique to this mission.
The first diagram is for dynamically generating and removing the mission giver. (If you’re wondering why the dynamic trigger isn’t being turned on, the next diagram covers that.)

The second diagram is for the mission itself. The blue objects at the top of this diagram are the same objects from the previous diagram. The orange object is from the fourth diagram below.

The third diagram shows how each of the enemy waves work. The enemy wave generator and logic gate are the same objects from the previous diagram. The diagram only shows one enemy wave generator (and its corresponding logic gate). The other two enemy wave generators work the same way, as shown in the video.

The fourth diagram is for the successful mission completion.

The fifth diagram is for the mission failure, and shows how the mission is reset so the player can try again. All of the objects are the same ones shown on previous diagrams, except Odin’s Treasure canister (this is the only diagram that shows it). You can match them up by color. To help make the diagram easier to read, I stacked up the four enemy wave generators and the logic gates. The same signal goes to all four of them.

Enjoy!
