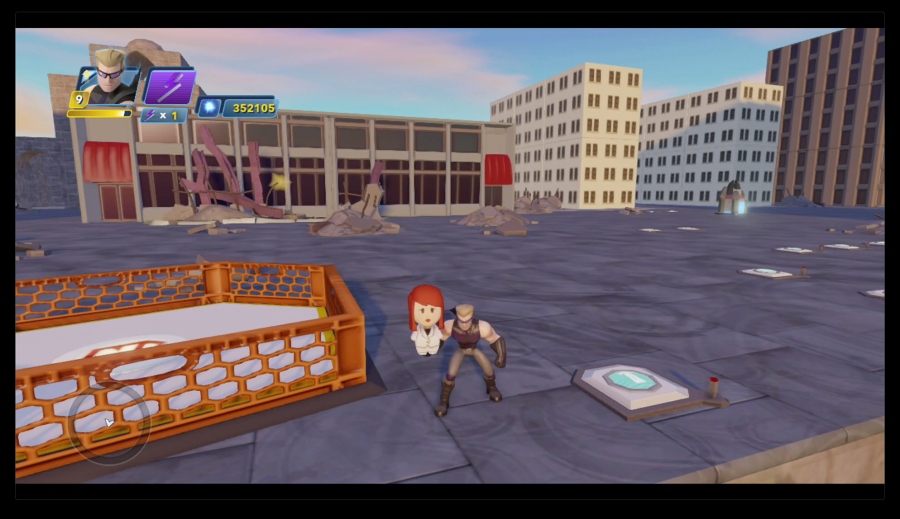
In this episode, I’ll show you how to implement the logic for rescuing the townspeople. I’ll also share some tips for saving memory and minimizing lag, since this toy box is going to have a lot going on. Don’t forget to scroll down to find the logic diagrams.
Here are the logic diagrams to help you connect the Creativi-toys that I used in today’s video. I could not fit everything in a single diagram, so the objects on these diagrams are color coded to help you connect the diagrams. The first diagram is for dynamically generating and removing the mission giver. The next diagram shows how the dynamic trigger is turned on.

The second diagram is for the mission itself. The blue objects at the top of this diagram are the same objects from the previous diagram. The orange object is from the third diagram below. As shown in the video, there are multiple orange objects (dynamic triggers), one for each enemy spawning chamber.

The third diagram is for the enemy spawning chambers. The diagram only shows how to hook up one chamber. As I said in the video, all of the other chambers are hooked up the same way.

Enjoy!
